Bills Must Be Paid Perk Selection Guide
Choose the best Bills Must Be Paid perks after each bill payment with clear rules for stamina, income, damage, and run-specific trade-offs.
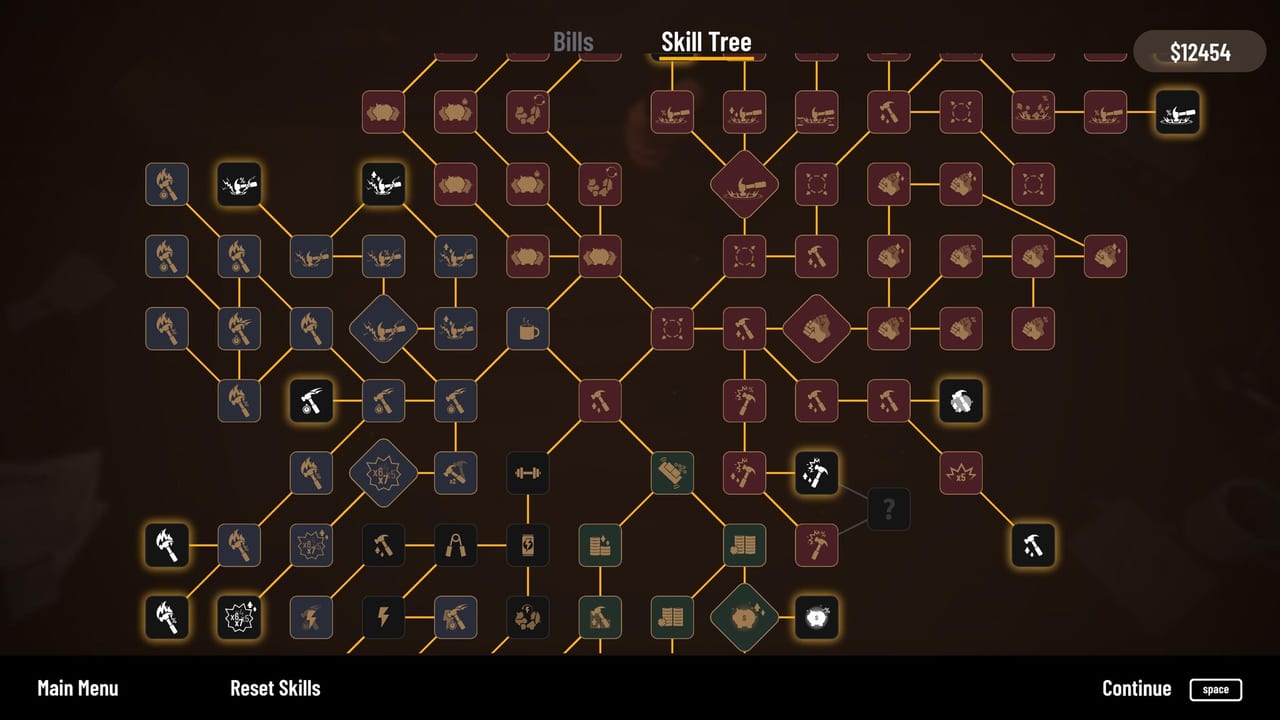
Perks are contracts for the next phase
Paying a bill in Bills Must Be Paid does more than remove pressure. It often unlocks a perk choice that shapes the next stretch of the run. Official descriptions describe these as roguelite-style rewards: you pick one benefit and live with that decision until the next major milestone. Treat every perk screen as a contract about what problem you will solve next.
There is no universal best perk because the best perk depends on your current bottleneck. A stamina perk is excellent when your hand keeps running dry before the next payment. An income perk is excellent when you survive long enough but cash arrives too slowly. A damage or hammer perk is excellent when targets are plentiful but breaking them takes too long. The Perk Tier List ranks options by situation, not by a fixed forever order.
The three perk families
Most perk choices fall into three families. Stamina perks extend or protect active time. Income perks improve coin conversion, drop quality, or money bonuses. Combat perks improve hammer behavior, crit windows, shock effects, or area coverage. Some perks blend categories, but the decision question stays the same: which family solves the reason your last phase felt weak?
If you cannot name that reason, default to consistency. A perk that keeps you active usually creates more future choices than a perk that only helps when everything already goes well. This mirrors upgrade logic on the Best Early Upgrades page.
When to pick stamina perks
Choose stamina perks when runs end with unpaid potential on the desk. If you frequently see coins you could have collected with another ten seconds of smashing, stamina is the leak. Stamina perks also pair well with moving piggy routes that require longer pursuit, because they buy time to chase Tourist or El Loco targets without abandoning bill safety.
Stamina perks are weaker when the real problem is payment timing, not run length. If bills keep entering red state because you delayed payment to buy upgrades, a stamina perk will not fix collector pressure. Pay first, then reassess.
When to pick income perks
Income perks shine in green or stable yellow bill states. If you already survive long enough and the next bill is not immediate, an income perk can multiply the value of every future swing. These perks are especially strong after grip or wrist upgrades because those tools increase the number of successful hits you can convert.
Income perks are risky in red bill states unless the perk immediately helps you pay the current bill. Do not pick a long-payback money bonus when the collector is already taxing earnings. In that situation, choose the perk that stabilizes the next two minutes, not the one that looks best on a spreadsheet.
When to pick damage and hammer perks
Combat perks reward players who already path well. If your desk has dense spawns and your hammer can cover them, a damage or crit perk can turn a stable run into a spike run. These perks also help against Woody targets and other high-health piggies that eat time without paying quickly enough.
Combat perks punish poor routing. A bigger crit window does not help if you spend the phase chasing one target across the desk. Pair combat perks with the Hammer Tier List and Piggy Types guidance so the perk matches the targets you can actually reach.
Matching perks with upgrades and hammers
Perks and upgrades should be read together. If you just bought a luck upgrade, a perk that improves drop quality becomes more valuable because you created the conditions for variance to matter. If you just bought stamina support, an income perk may now be safe because the survival problem is temporarily solved. If you switched to a fast hammer, perks that trigger on swing count or shock chains become more attractive.
Avoid picking perks that duplicate your strongest existing strength unless that strength is the only reason you are winning. Double damage when you already one-shot common piggies is less useful than fixing the bill timer or stamina leak that still ends runs early.
Full-game perk depth
The full release keeps the bill-to-perk loop and adds longer systems such as prestige rings, bracelets, and desk gadgets. Those systems change starting conditions but not the perk question itself. After bankruptcy or reset-style progression, you still ask what the next phase needs most.
On launch day, compare demo perk habits with full-game tools in Launch Day Guide, Prestige System, and Desk Gadgets. A perk that was merely good in the demo can become excellent once a gadget amplifies the same effect.
Quick perk decision table
Use this quick read at the perk screen. If the last run ended because stamina ran out, pick stamina. If the last run ended because the bill arrived before you had enough cash, pick income or payment support. If the last run had time and money but piggies broke too slowly, pick combat. If collector pressure already started, pick the perk that helps you stabilize the next bill, not the perk that only pays off three bills later.
For broader ranking by situation, see the Perk Tier List. For payment timing context, keep How to Pay Bills open during longer sessions.
Frequently Asked Questions
Quick answers grounded in the current demo and launch details.
When do perk choices appear in Bills Must Be Paid?
Perk choices typically appear after bill-related progress, especially after paying a bill and moving into the next earning phase.
Is there one best perk every run?
No. The best perk depends on whether stamina, income, or breaking speed is your current bottleneck.
Should I always pick income perks?
Only when bills are under control and you already survive long enough to benefit from higher coin conversion.
Do perks change in the full game?
The loop remains, but prestige jewelry and desk gadgets can make some perk families much stronger than they were in the demo.